


The Salesforce ecosystem is full of quality applications available on the AppExchange. They can be a great addition to your organization.
Why are applications useful?
- They can offer desirable functionality that isn’t provided by out-of-the-box Salesforce.
- They are often more cost-effective than custom development.
- They are managed by the vendor. It’s their job to support you so you can focus on your goals.
Many of these applications are continuously improved with new functionality, bug fixes, and enhancements, but most packages do not automatically push these updates to your organization. So it’s important to stay up to date with the package provider to ensure you’re making the most out of your solution!
To make this process as smooth as possible, here are our four easy steps to upgrade a package from the Salesforce AppExchange.
1. Check if your AppExchange app has an update available
Check the package version
The first thing to do is work out what version you have installed in your environment. To do this, log into your organization and go to Salesforce Setup. Using the quick find, type “Installed Packages” and click through.
You will see a row in the table for the installed product and a column that contains the Version Number (see below). Now navigate to the AppExchange listing or contact the package provider and find out what the latest version is.
Check the release notes
Most packages will have release notes available. You can usually find these via the company’s website. Release notes are helpful to understand what has changed in the latest versions of the product and they can also identify whether there is a required upgrade path. In some cases, they may also specify whether any changes are needed to the configuration after upgrading.

2. Upgrade your AppExchange package into a Sandbox
We’ve said it to our customers a thousand times: always upgrade in your Sandbox first! We recommend using a Full or Partial Sandbox so that it is as similar to Production as possible. If you’re not sure what a Sandbox is, check out this helpful post by KeyNode Solutions.
Why upgrade in a Sandbox? It’s because a package cannot be downgraded after an upgrade. Yes you read that correctly. So a Sandbox gives you a chance to review the upgrade before it is deployed into your production environment.
To get started, you’ll need to be logged into the AppExchange and go onto the listing that you would like to upgrade. Make sure you have logged into your Sandbox in another tab already, as that will be the Sandbox the AppExchange will install into. After clicking Try It button on the listing, it will then show you the window below.

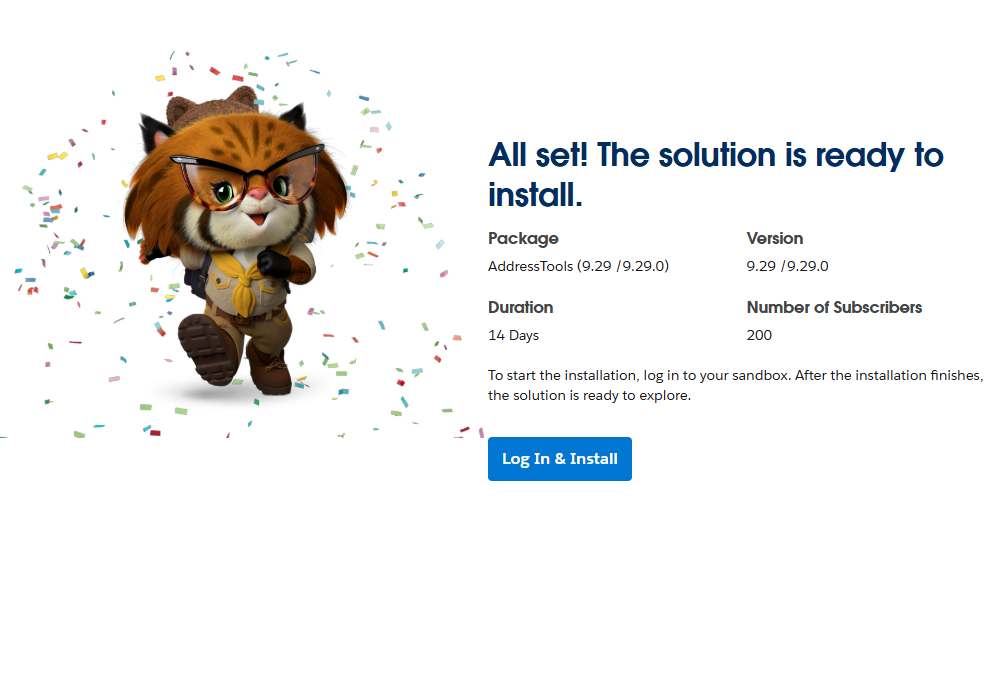
It will look as though you are installing a new trial. However, in a Sandbox you are given access for all internal users to use the application and the license doesn’t expire. Once you have entered your details and agreed to the terms and conditions, you can click Continue to Installation. Once on the screen below click Log in & Install to finish the installation.
Note: if you have been given a direct install link for an application, the URL should look like this: test.salesforce.com/.
3. Test! Test! Test!
Now the package has been upgraded in your Sandbox, you should test all your business cases to ensure the upgrade doesn’t have any undesirable impact.
- If you have any automated tests, run them and check they all pass.
- If you’re a small business with limited to no automated tests, kindly ask one of your power users if they can give it a once over in the Sandbox.
- Remember, once it’s in production you cannot downgrade the package!
Package providers will have their own tests built into the package, but some packages can span thousands of different use cases, so whilst their tests can cover the vast majority of functionality, some organizations may encounter issues.
Have an issue?
If you do have problems with a package, do not deploy the changes to your Production yet. Contact the package provider’s support for assistance. When you have a working version and your tests have passed in Sandbox, you’re ready to move on!
4. Upgrade your AppExchange app into Production
After a successful testing cycle in your Sandbox, you are ready to upgrade into Production!
Go back to the AppExchange listing and use the Get it now button. If you’re in direct communication with the package provider, they may provide you with a direct link for the installation. For a production environment, it will begin with login.salesforce.com/.
Follow the same steps as before and confirm the Username is the correct one for the organization that you’re installing into. This is helpful if you manage multiple environments.
What if I’ve paid for the application?
Don’t worry! If the product is paid for, your licenses will automatically carry over after the upgrade has completed so there will be no additional requirements to re-assign licenses.
What if the application upgrade required configuration changes?
If there were any configuration changes, ensure that they are either deployed to the organization after the package upgrade or manually change them once the upgrade is complete.
And that’s it! You’re ready to rumble with your new upgrade!